Signing up for Puppet Enterprise via AWS Marketplace
- Visit Puppet Enterprise in AWS Marketplace
- You’ll land here

- Click the Continue to Subscribe button on the top right-hand corner.
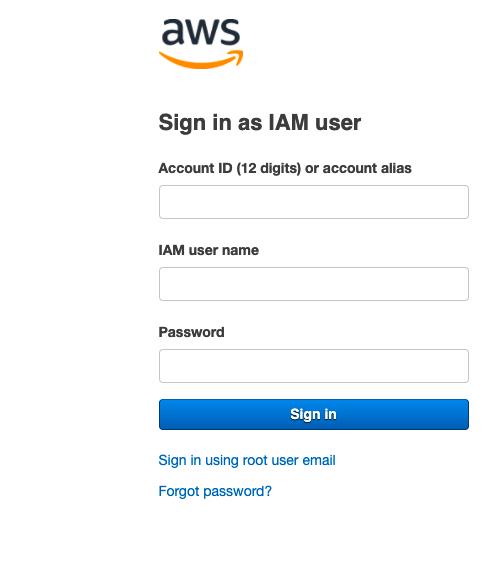
- You may be prompted to sign in to the AWS account you just created, or the one you will be using for this workshop:
- Your page should look like this, notice that the BYOL license doesn’t cost anything for the listed instance type:
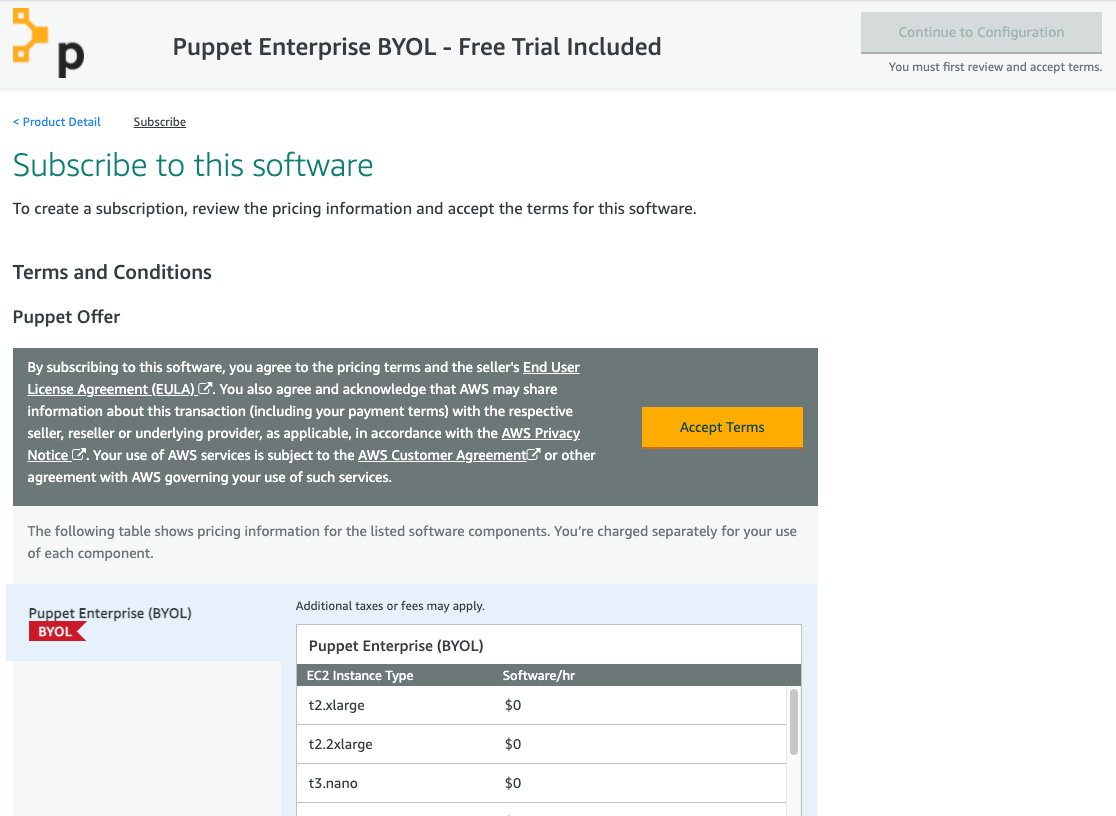
- Click the Accept Terms button.
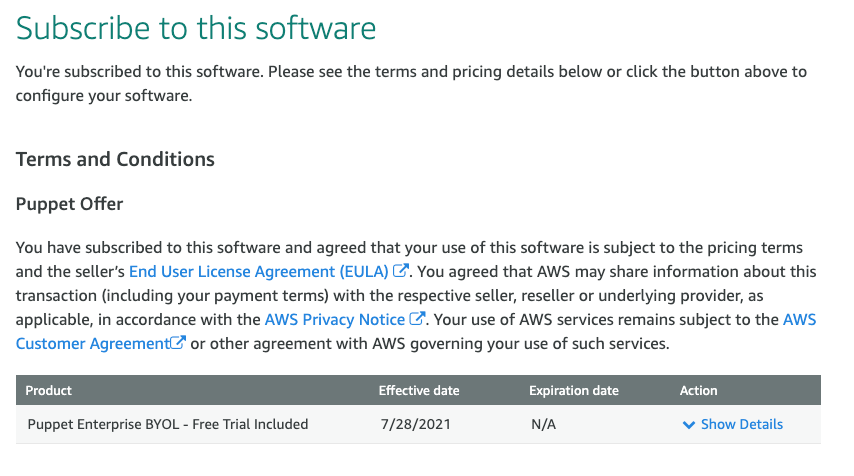
- You have successfully subscribed for Puppet!
- Click the Continue to Configuration button, and you’ll land here:

- Once you’ve filled out the details, go to your

- For the launch configurations, please set the following fields with the following values:
- Change the EC2 Instance Type to t3.large
- Leave the VPC settings as your default (when you provision a new AWS account, you’ll have a default VPC)
- Leave the subnet setting as default (this can be a random AZ within the region your management console is currently in)
- For the Security Group Settings, click the Create New Based on Seller Settings
- Name your security group
puppet-workshop-sg - For the description, write
SG for Puppet Enteprise - Click the Save button
- Name your security group
- For the Key Pair Setting, select the key pair you created in the previous section.
- Click the Launch button

And that’s it! You have launched a Puppet AMI as an EC2 instance! Click the next button to proceed with requesting AWS credits so this workshop will be FREE.