Configure Puppet Control Repository
The first step in setting up a new Puppet Enterprise deployment is importing a control repository, which contains the Puppet code which is used to define the configuration of managed resources.
Before you get started ensure that Puppet Enterprise has completed its post-deployment configuration process! The steps for ensuring setup are complete are documented here on the Puppet documentation website.
Alternatively, you can connec to your EC2 instance by following these steps:

Navigate to the Puppet Enterprise console, which runs over the standard HTTPS port (443)
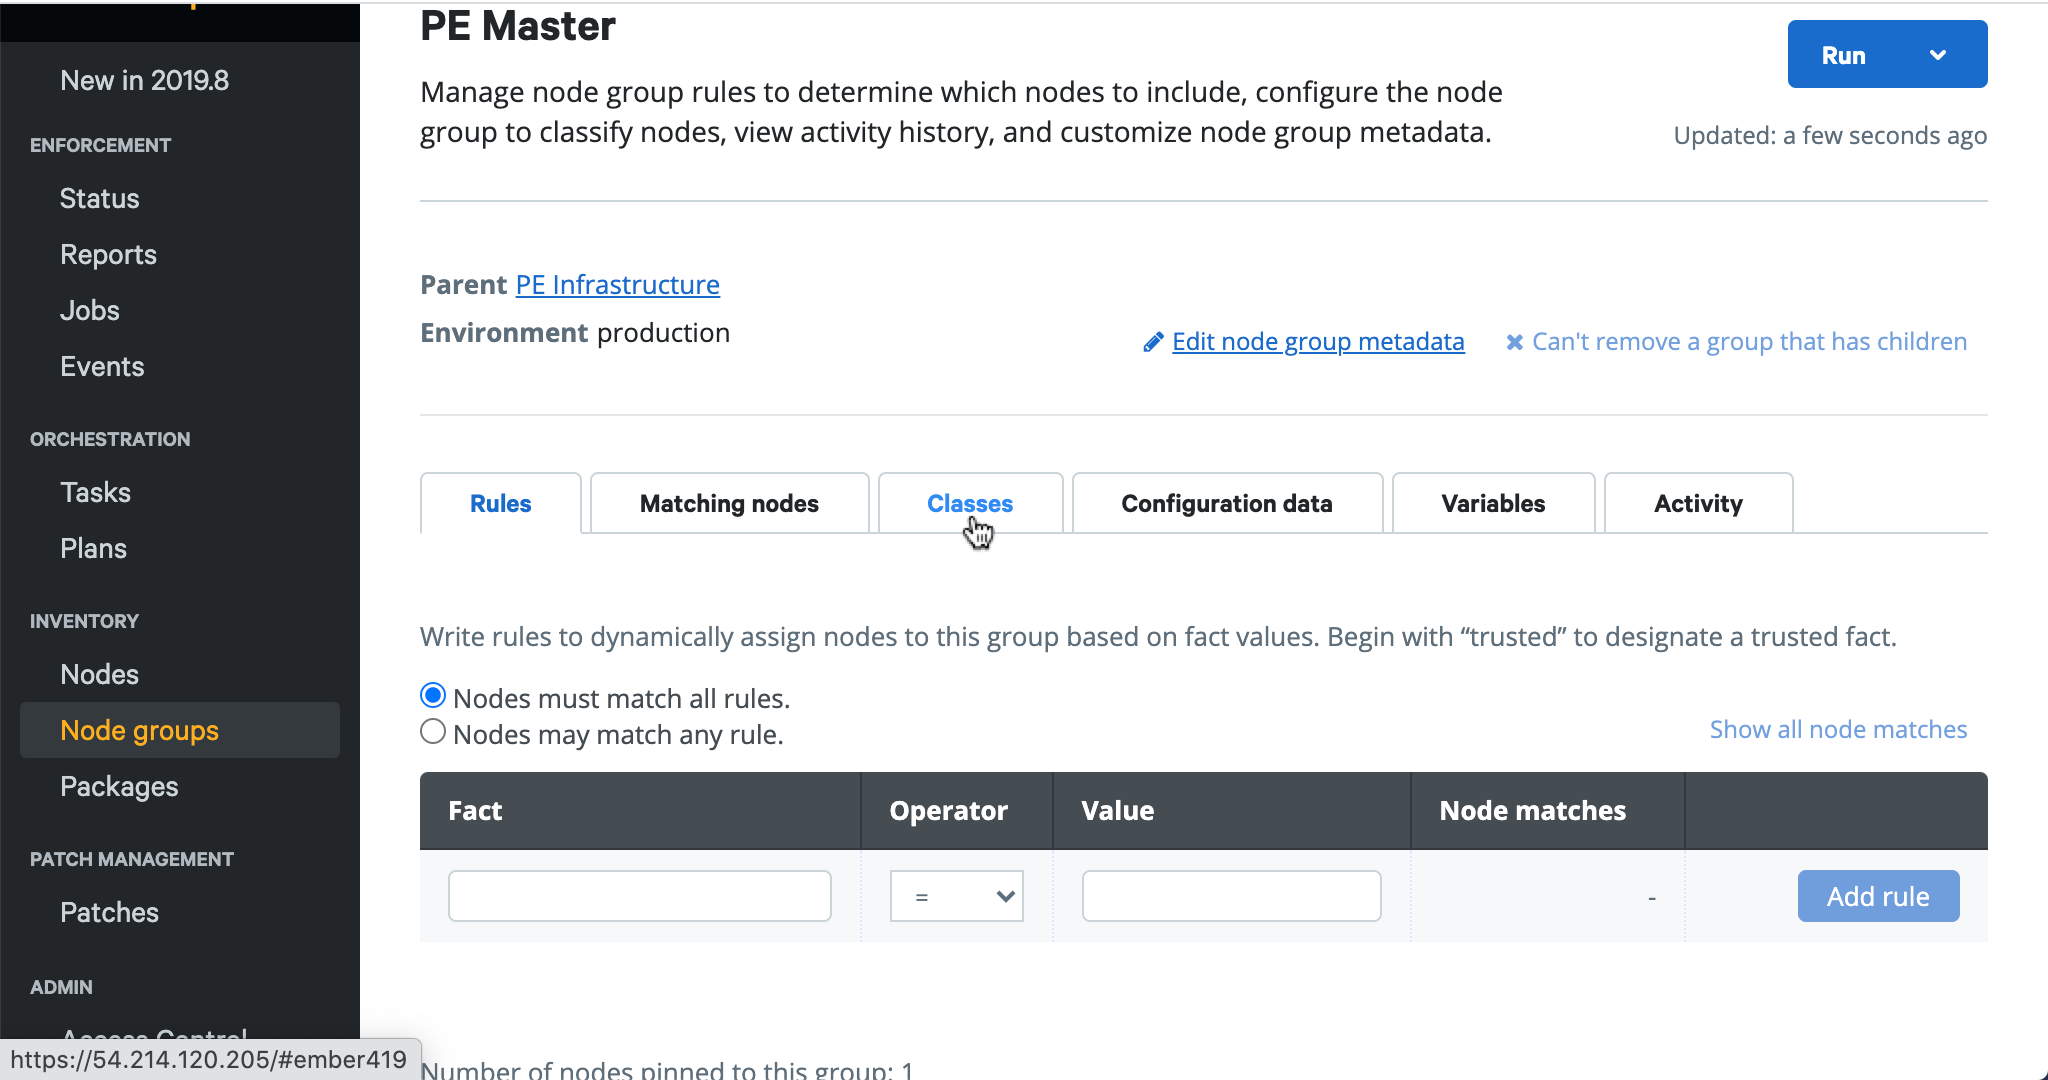
- Find and click on Node groups, found in the left side navigation panel

- Find and click on Node groups, found in the left side navigation panel
Scroll down until you find Class: puppet_enterprise::profile::master
- Use the drop down menu Parameter Name and find r10k_remote
- Set r10k_remote to
https://github.com/puppetlabs/aws-hol-repo.gitand click Add to node group - Now set code_manager_auto_configure to
true - Commit changes by clicking on Commit 2 changes

Log into your PE deployment as
puppetadminvia SSH and run Puppet via the CLIsudo -i puppet agent -t
Once you see similar output and you’re returned to a command prompt then continue to the next step

To deploy our Control Repository we first authenticate to the PE API
sudo -i puppet access login --lifetime=1y- Login with credentials set during the AWS Marketplace PE deployment process

Deploy the production code environment
sudo -i puppet code deploy production --wait