On-board new EC2 instance
In this lab we’re going to be using Puppet’s agent mode of operation and manually accepting a request to start managing the new node.
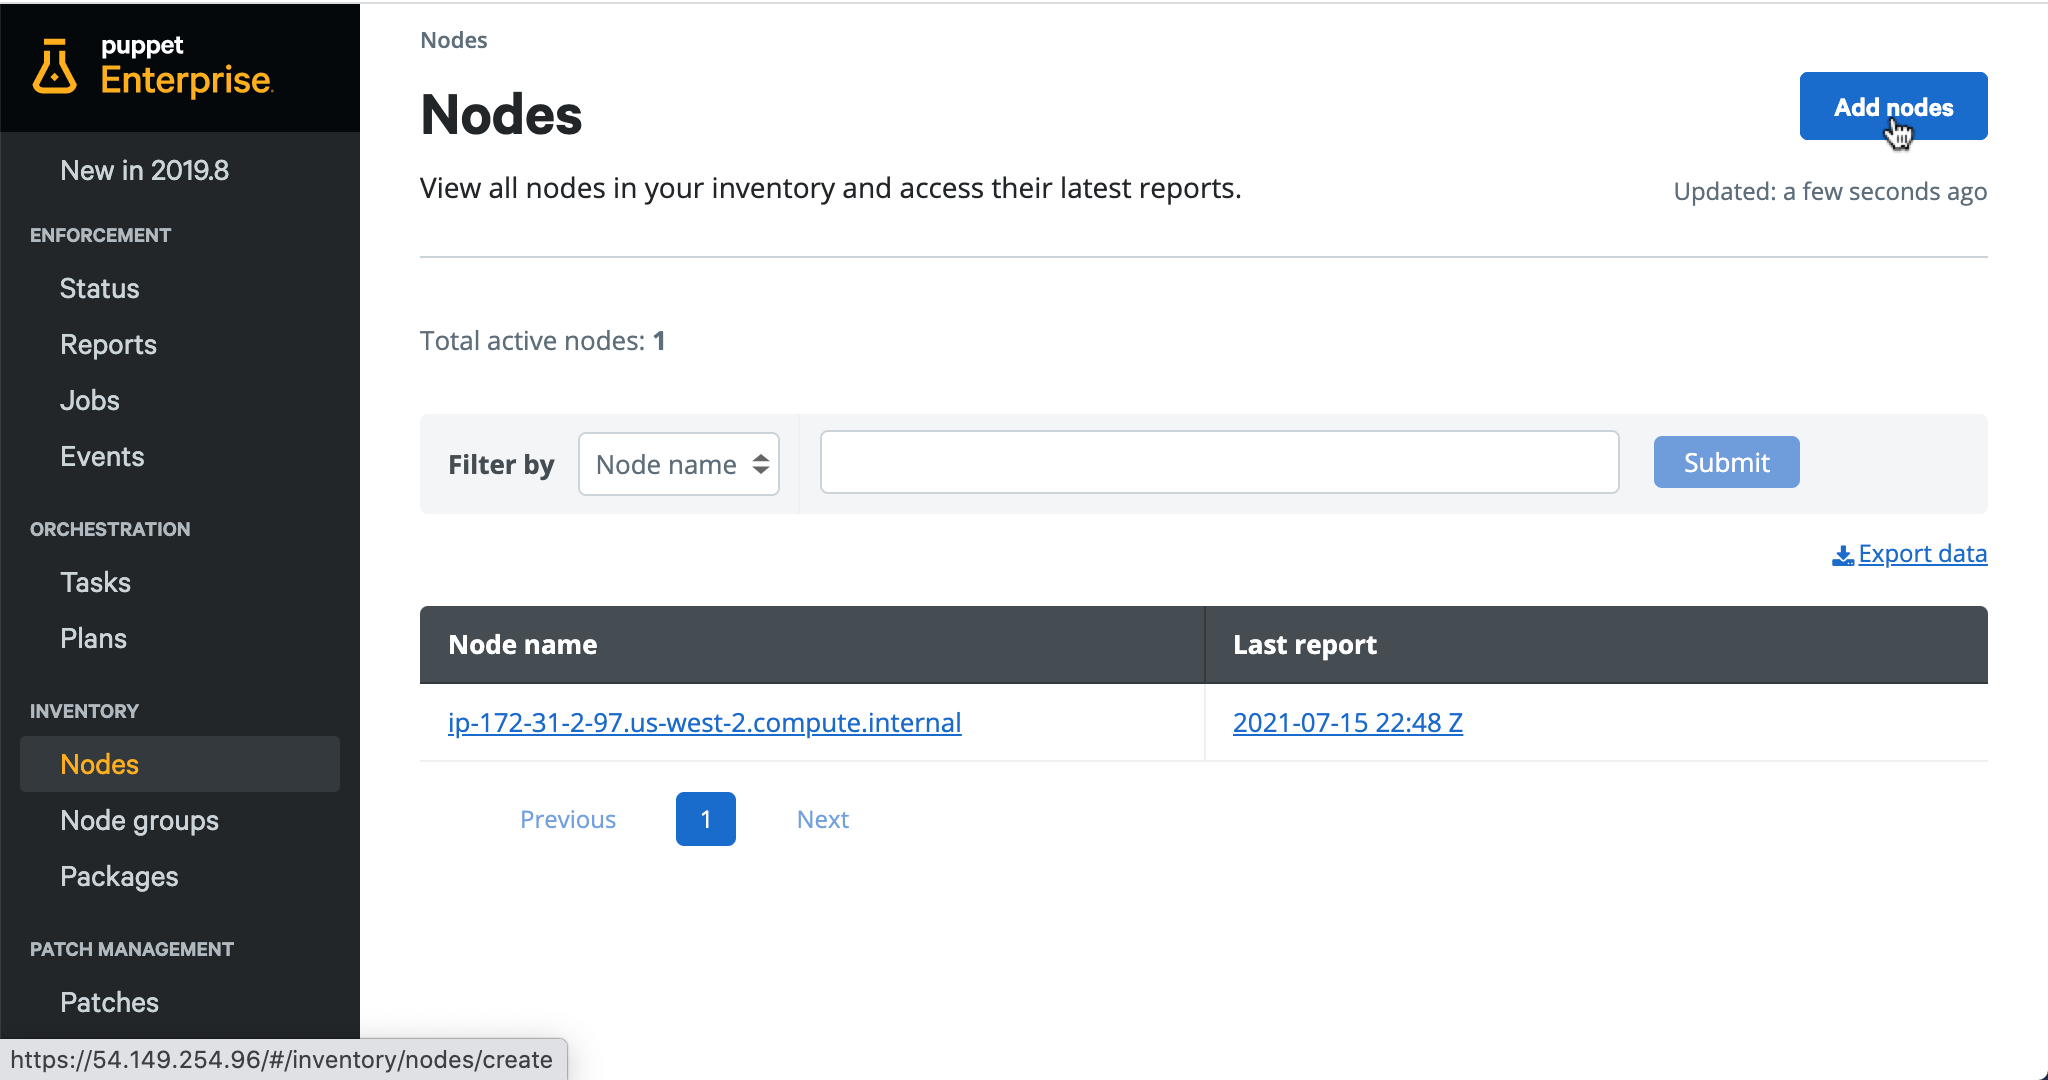
Naviage to Nodes section via the vertical navigation bar
- You should only see a single other node currently listed, this is the PE deployment

- You should only see a single other node currently listed, this is the PE deployment
-
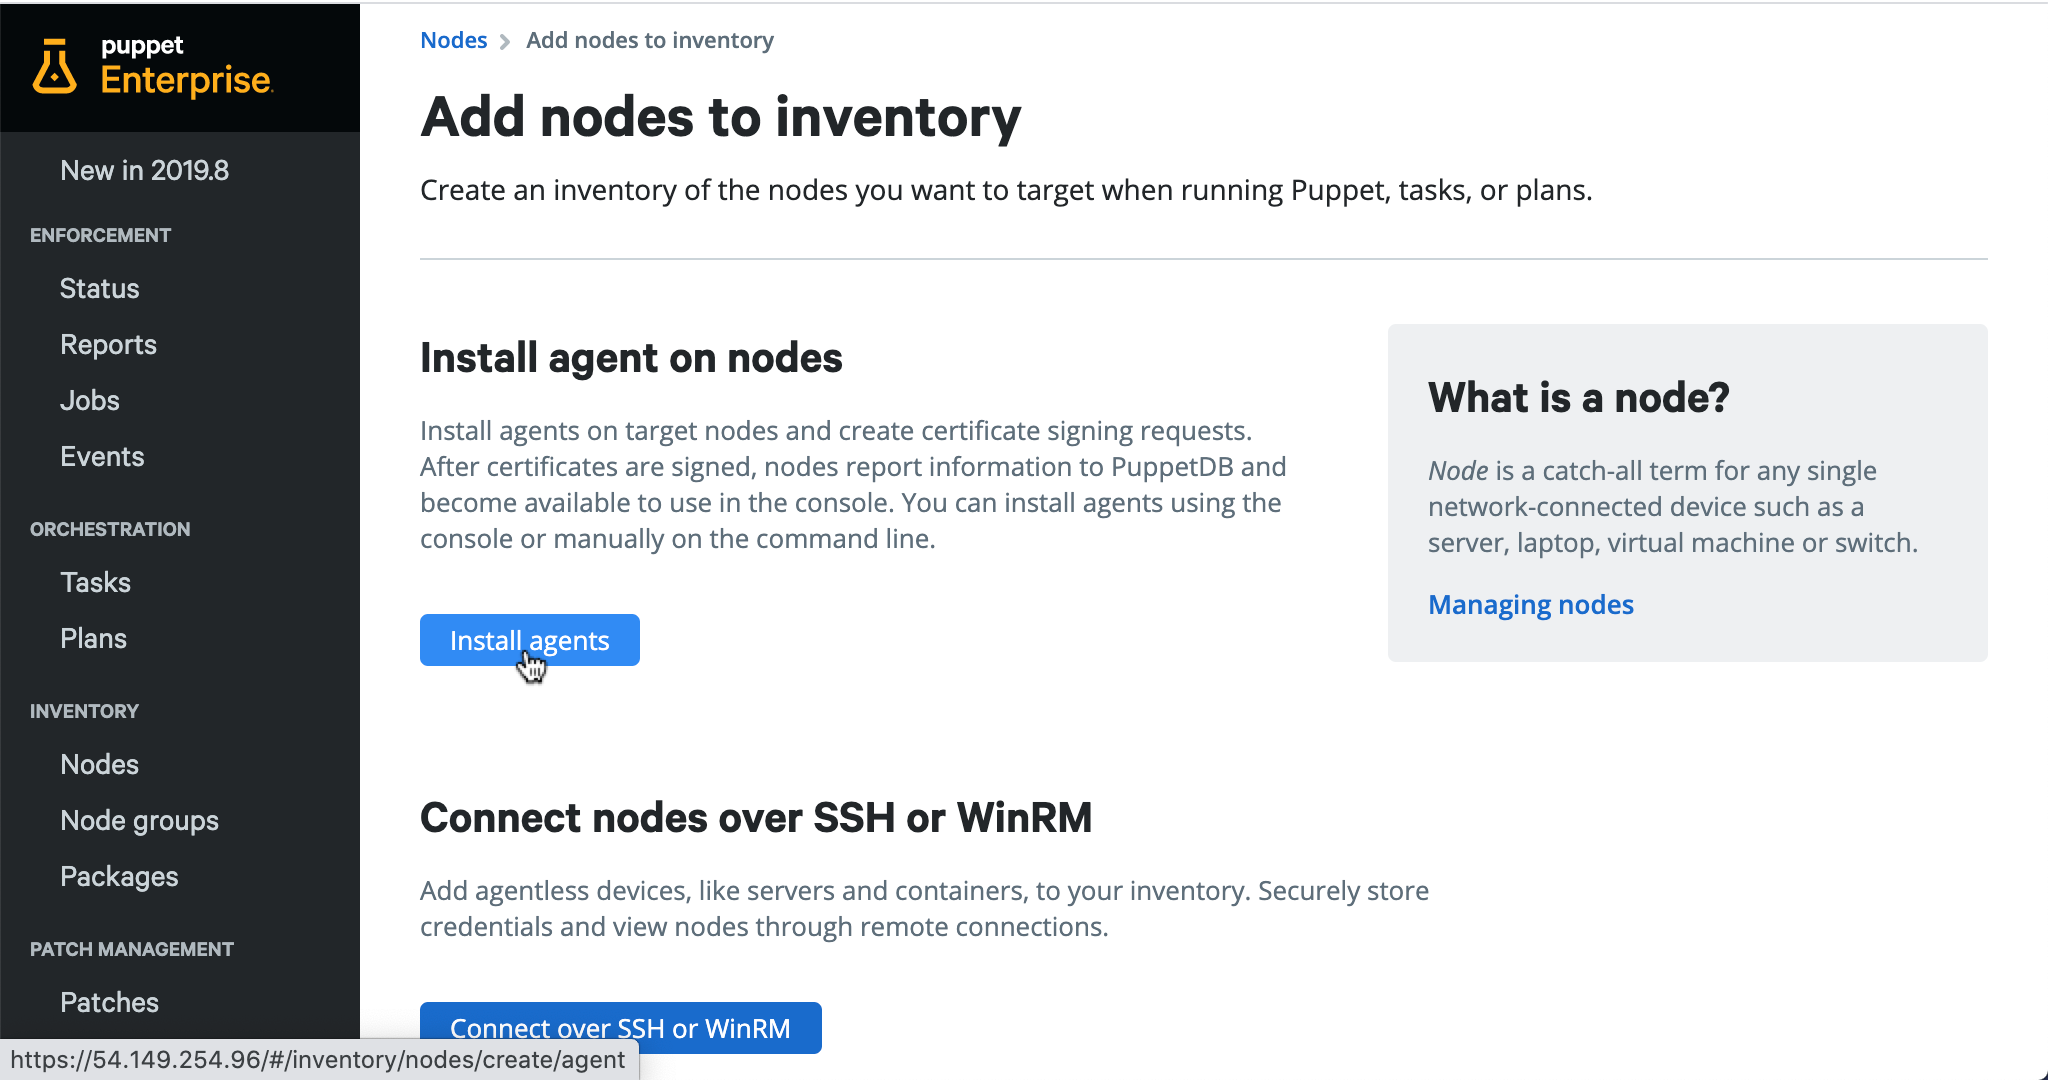
- Will send you a page which lists a couple ways of adding a node to inventory
- Will send you a page which lists a couple ways of adding a node to inventory
Click on the Install agents button
- Since we’re working with EC2 instances, we’ll choose Install agents
- Puppet can also manage devices and API endpoints
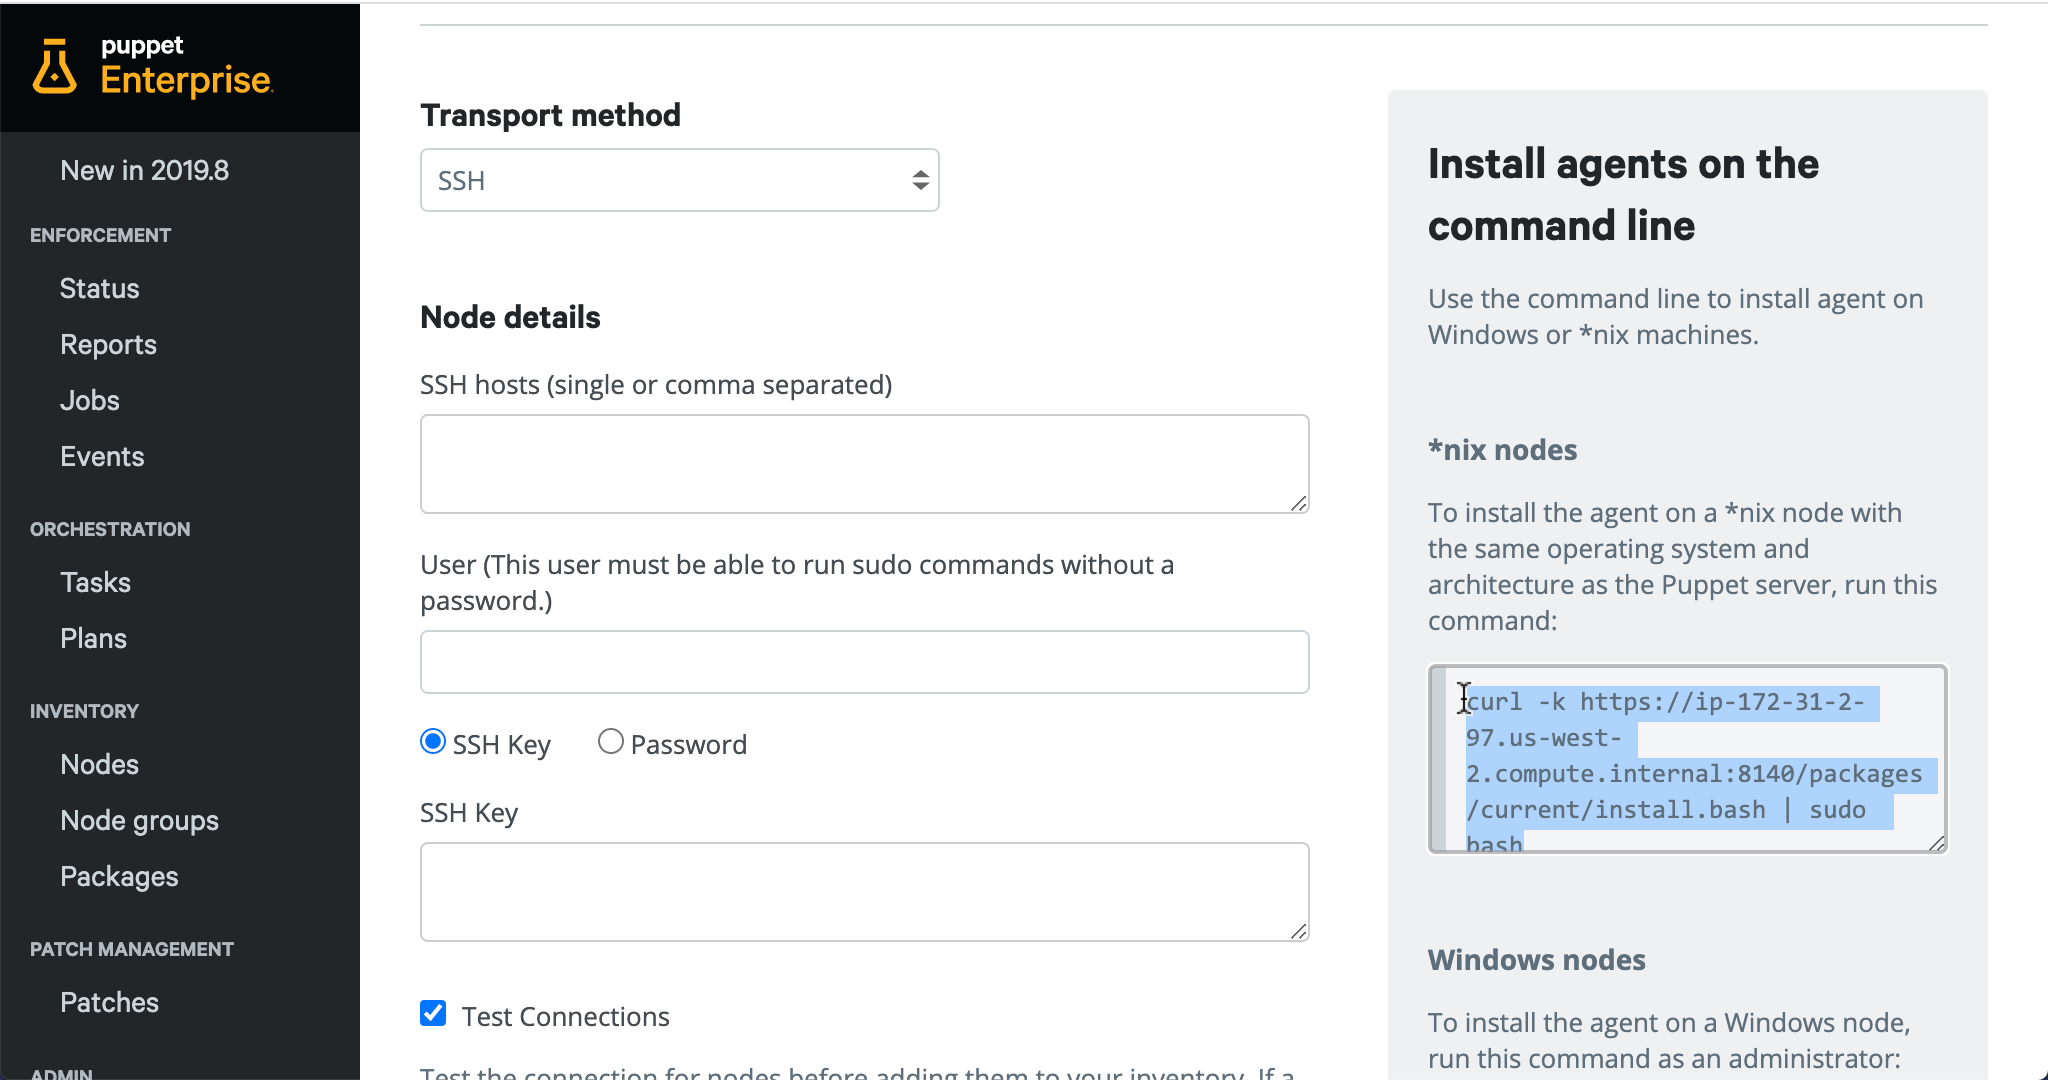
Copy command for initiating an agent install from the cli
- To avoid setting up and distributing SSH credentials for our workshop, we’ll copy the command for *nix under the Install agents on the command line section
- This command could also be integrated into your standard provisioning workflow to ensure Puppet is installed on first boot
Run copied command on EC2 instance
- SSH into the additional EC2 instance that you deployed during prerequisite setup as user centos
- Paste command onto cli
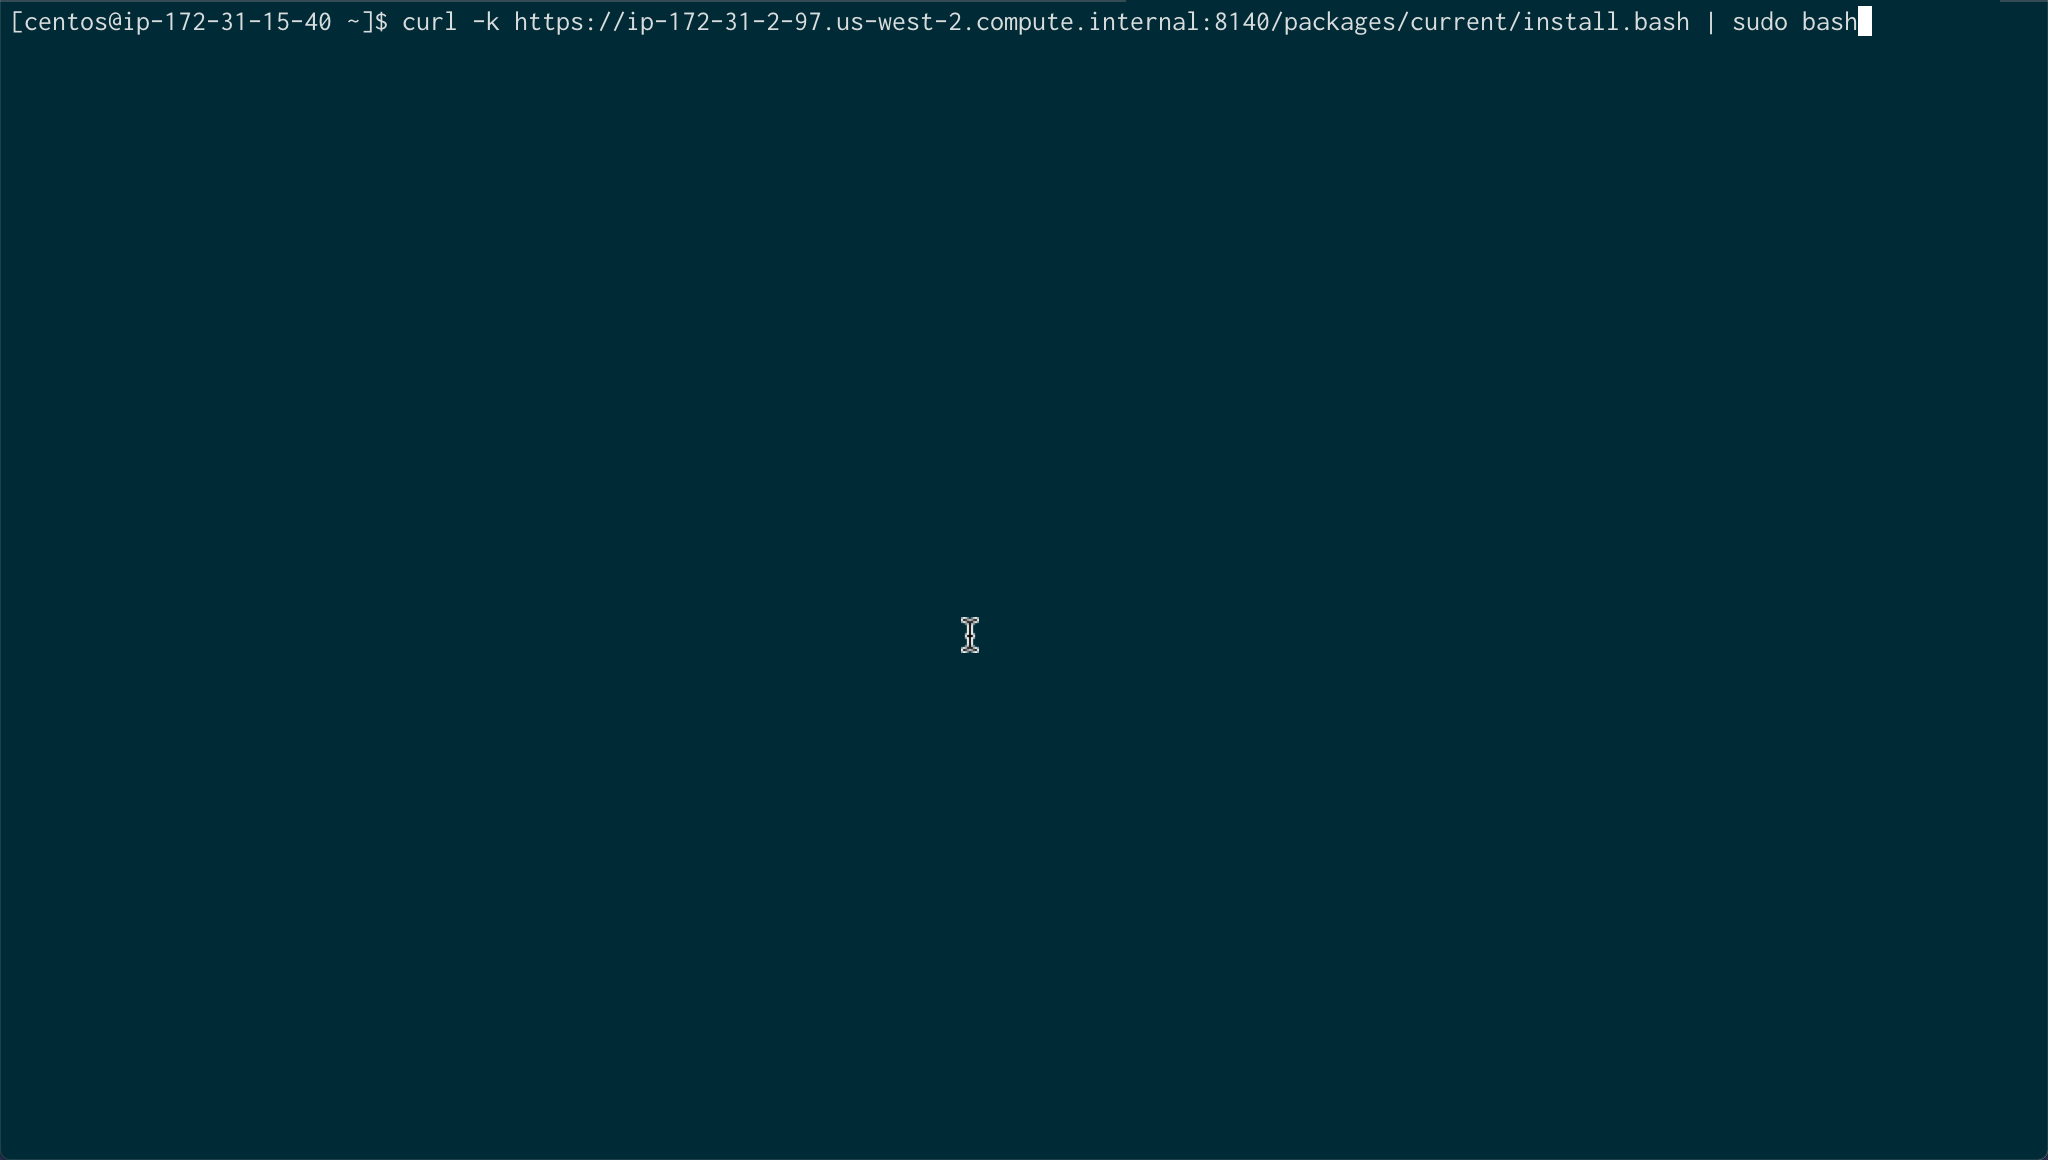
Run Puppet for the first time, waiting for onboarding approval
- With Puppet installed, initiate the first configuration run
- Puppet will wait for you to approve the new node, checking to see if it can continue every 5 seconds
sudo -i puppet agent -t --waitforcert 5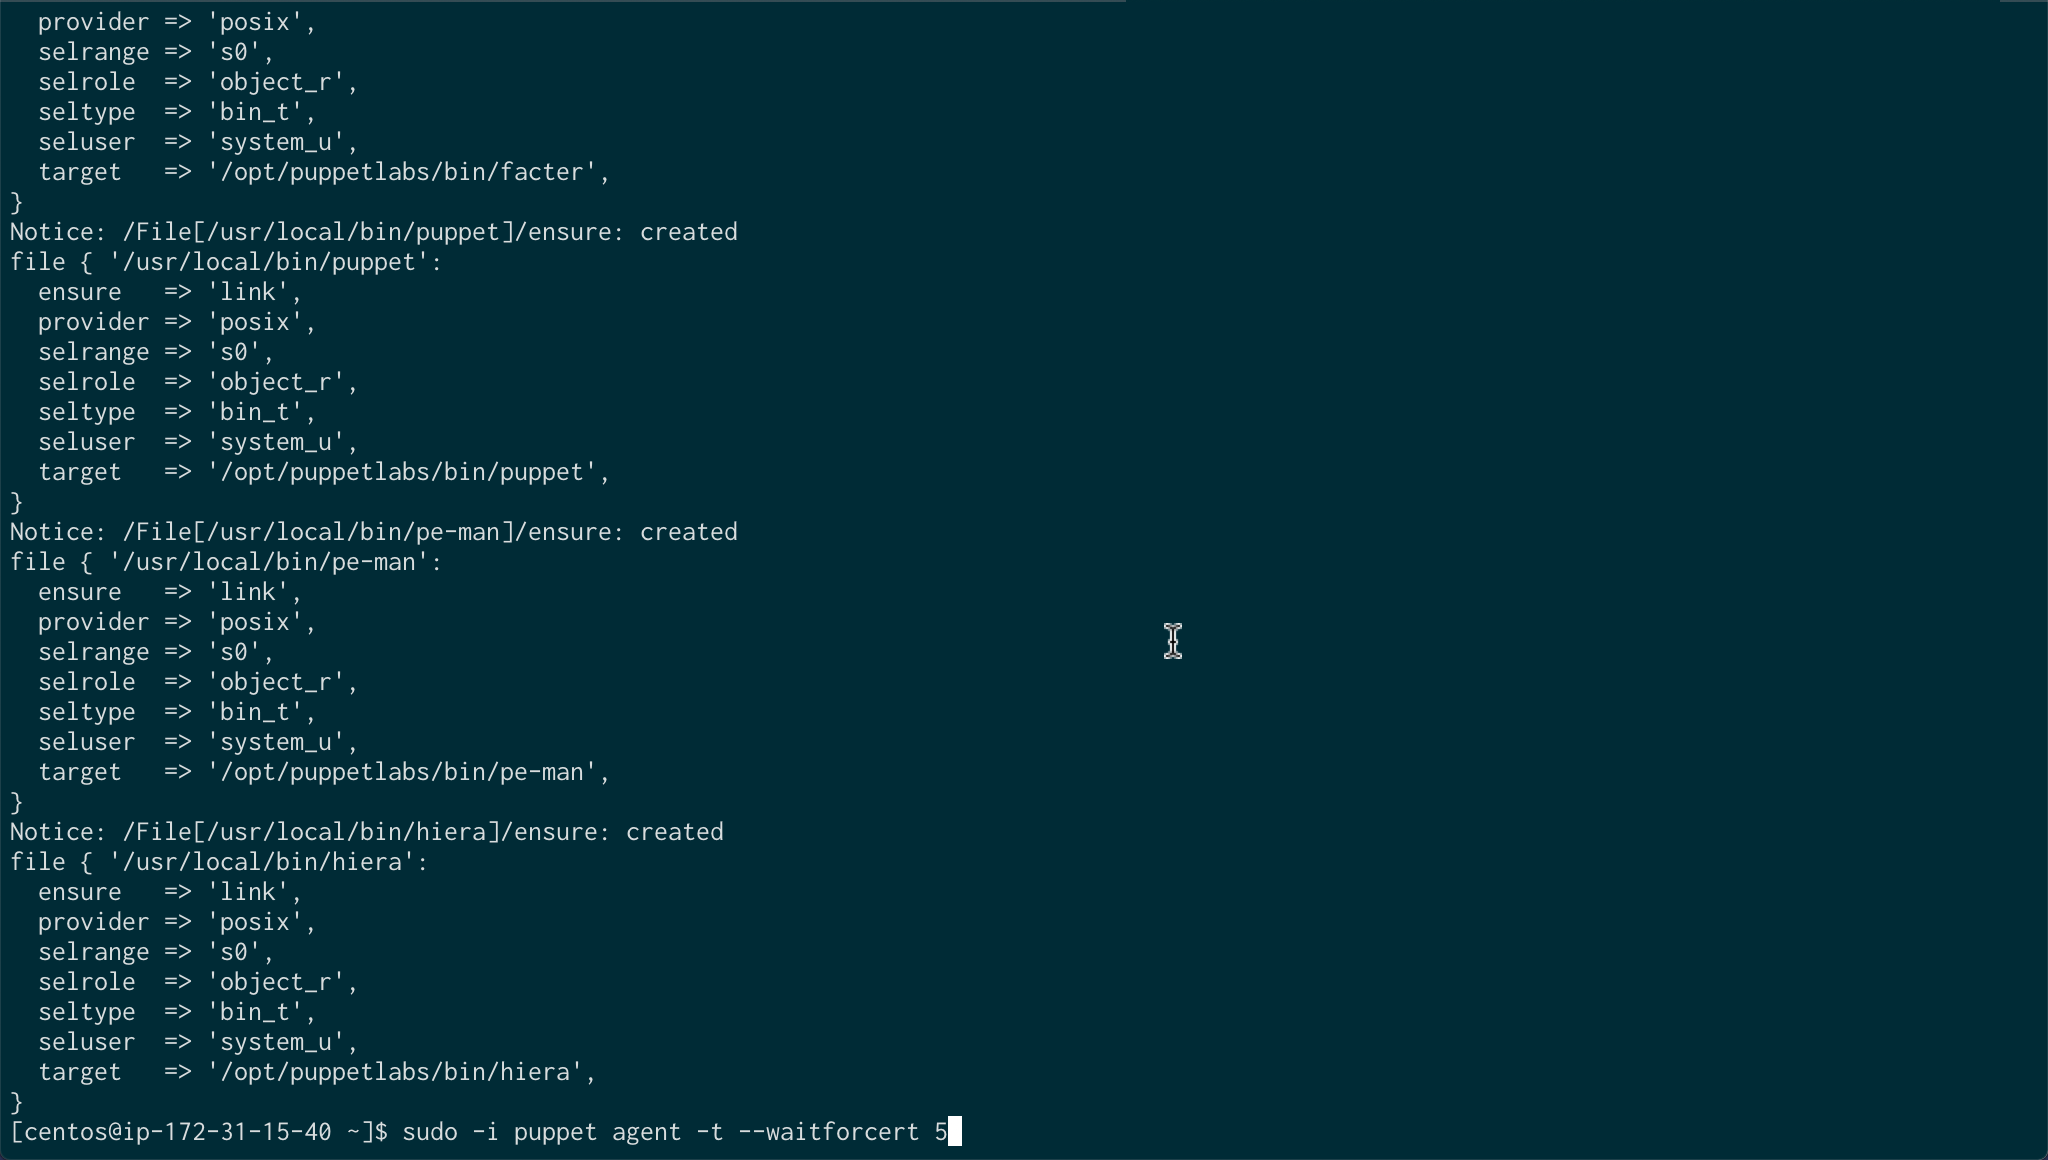
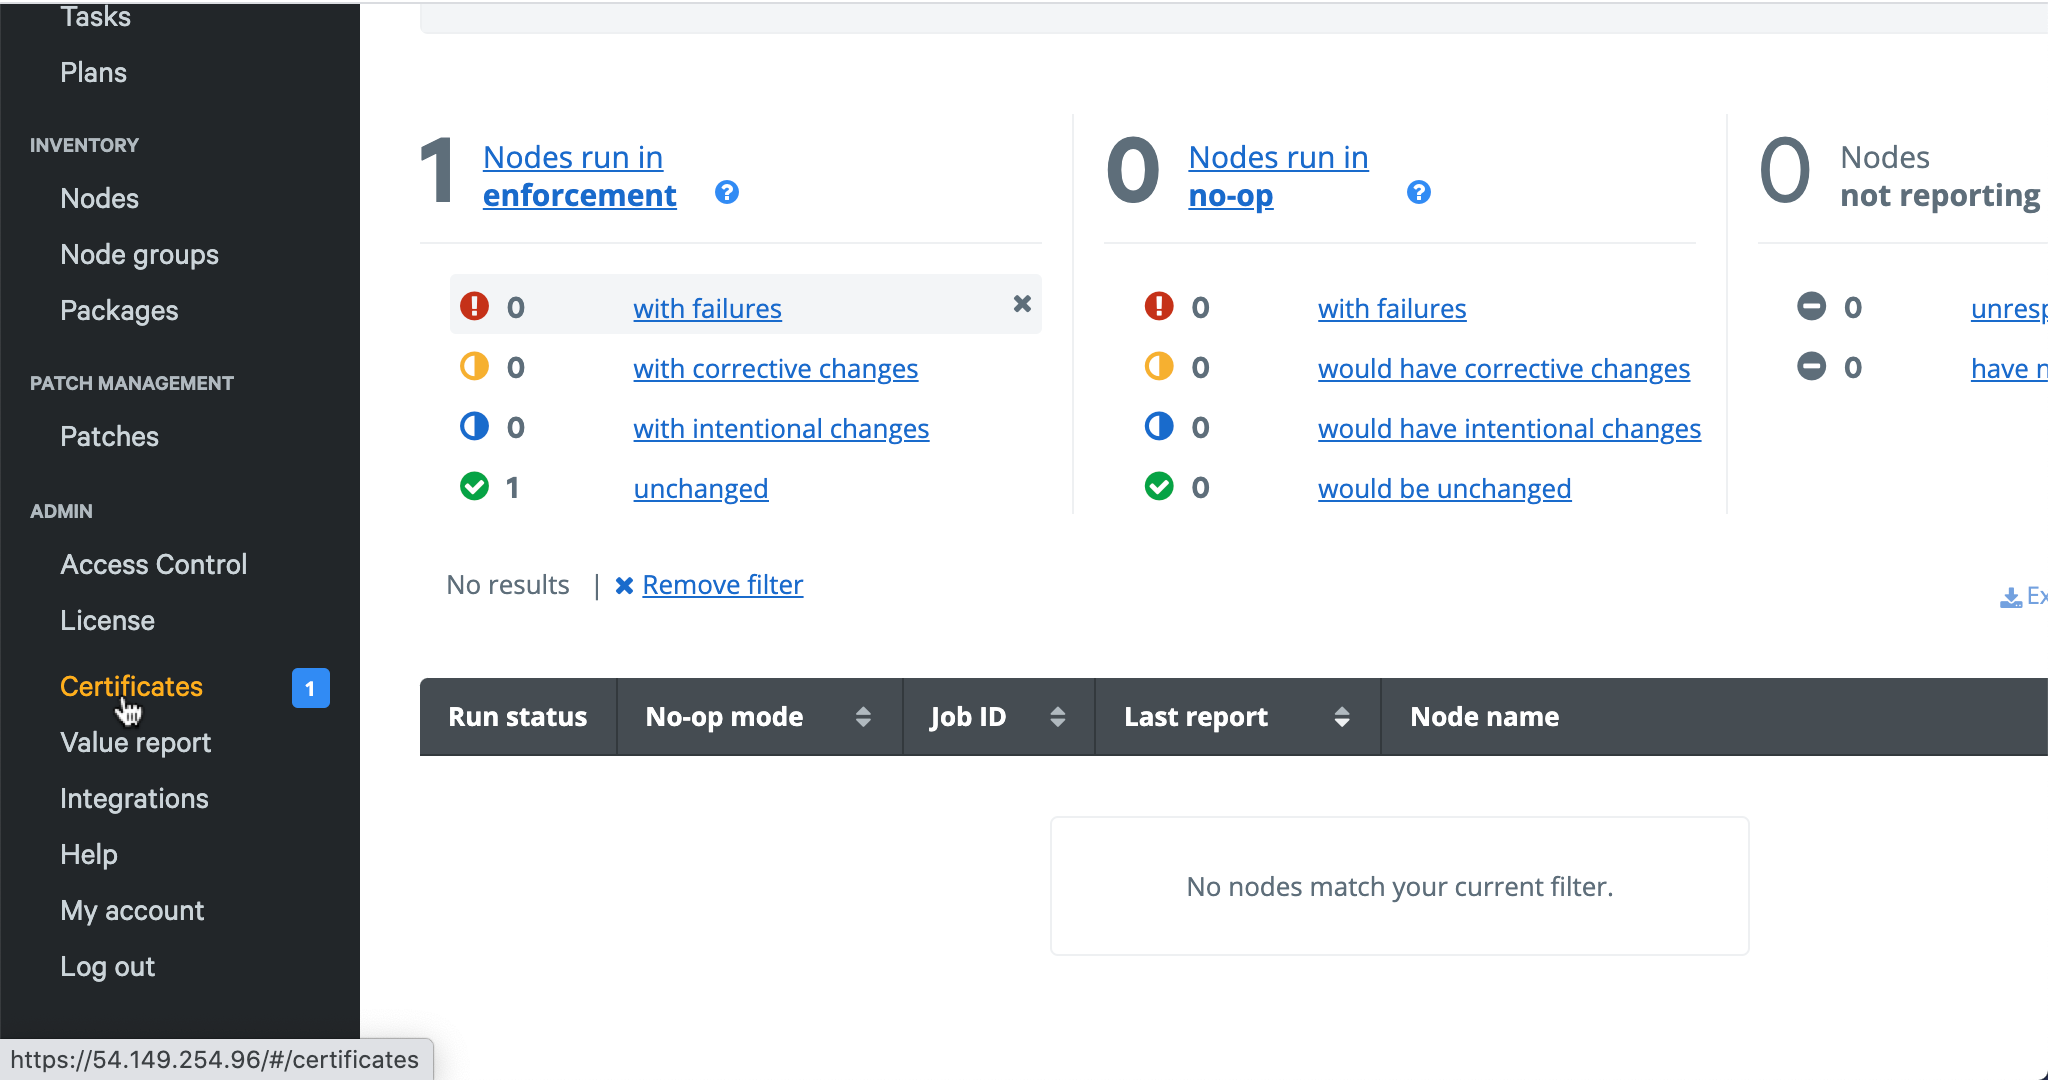
Navigate to Certificates section of PE console
- Return to the PE console and refresh your browser
- There is now bee the number 1 next to Certificates in the vertical navigation bar
Select Unsigned Certificates tab
- This number 1 will also be present next to Unsigned Certificates
- Click on this tab

-
- Click on the Accept button

- Click on the Accept button
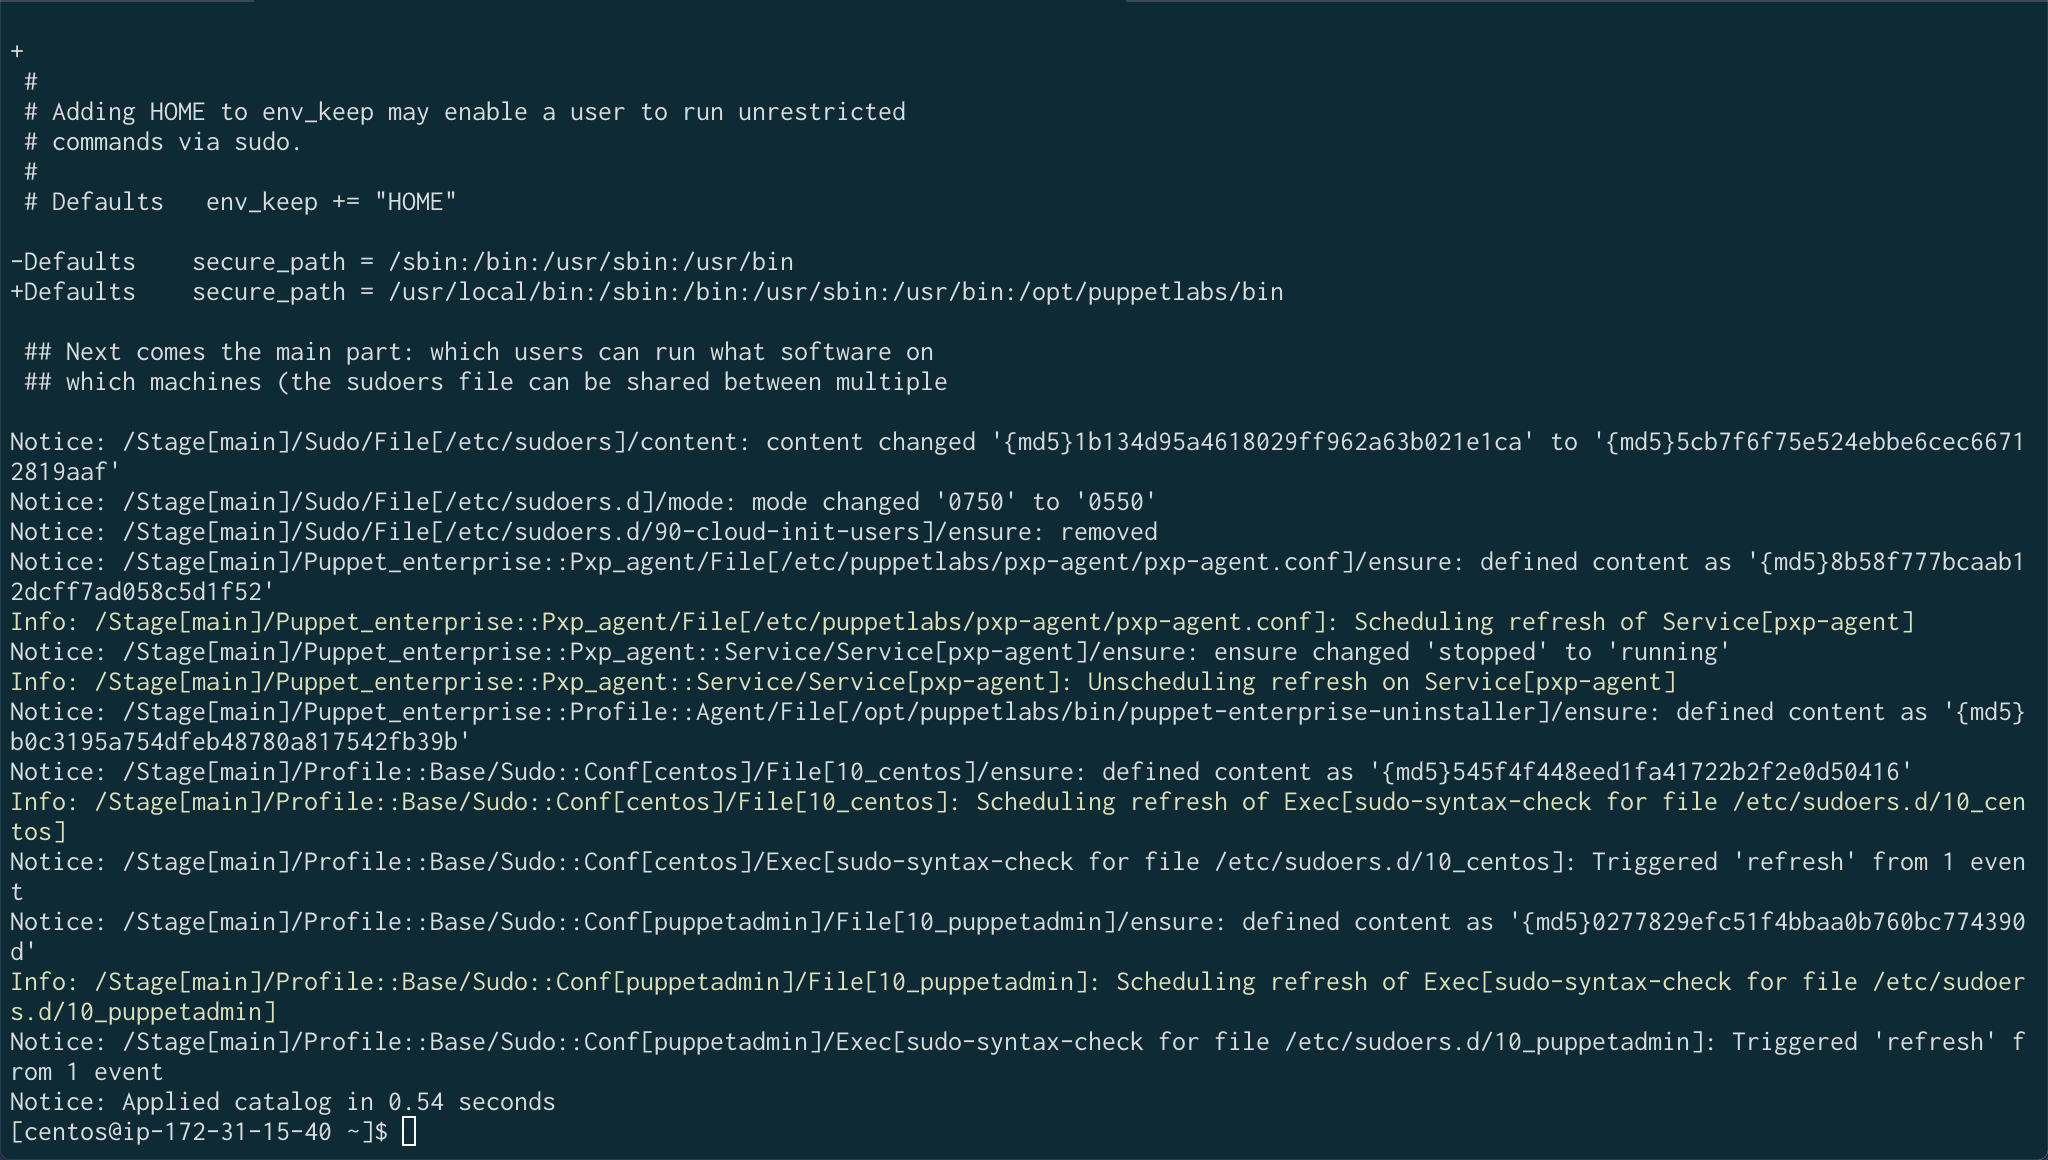
Wait for Puppet to finish its initial run
- Return to your SSH session and the Puppet run will have started
- When it finishes you’ll likely see events related to Sudo::Conf